Transforming Your Kitchen with a Budget-Friendly DIY Backsplash
The kitchen is often considered the heart of the home, a place where meals are prepared, memories are made, and family and friends gather to share good food and company. But over time, even the most well-loved kitchens can start to show signs of wear and tear, with outdated features and finishes detracting from the overall aesthetic appeal. Fortunately, you don’t need to embark on a major renovation to give your kitchen a fresh new look. With a budget-friendly DIY backsplash project, you can update your kitchen in a weekend and transform it into a stylish and inviting space that reflects your personal style.
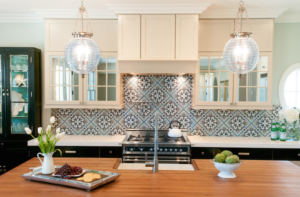
The first step in transforming your kitchen with a DIY backsplash is selecting the right materials. Fortunately, there are a wide variety of affordable options available that can mimic the look of more expensive materials such as tile, stone, or glass. Popular budget-friendly options include peel-and-stick vinyl tiles, adhesive-backed metal or plastic sheets, and even paintable wallpaper. When choosing materials, consider factors such as durability, ease of installation, and how well they complement the existing decor and finishes in your kitchen.
Once you’ve selected your materials, the next step is to prepare the surface for installation. This typically involves thoroughly cleaning the wall to remove any grease, grime, or residue that could prevent the adhesive from sticking properly. Use a mild detergent and warm water to clean the surface, and be sure to dry it thoroughly before proceeding. If the wall is painted, you may also want to lightly sand it to create a rough surface that will help the adhesive bond more effectively.
With the surface prepped and ready to go, it’s time to start the installation process. Begin by measuring and marking the area where you’ll be installing the backsplash, taking care to account for any outlets, switches, or other obstacles. Once you have your measurements, use a pencil and level to draw a straight line along the bottom edge of where the backsplash will be installed. This will serve as a guide to ensure that your tiles or other materials are installed evenly and straight.
Now it’s time to apply the adhesive and start installing your backsplash materials. Depending on the type of materials you’ve chosen, you may need to apply adhesive directly to the back of each tile or sheet, or you may be able to use a pre-mixed adhesive spread directly onto the wall. Follow the manufacturer’s instructions for your chosen materials, and be sure to work carefully and methodically to avoid any gaps or uneven seams.
As you work, periodically check your progress against the guidelines you’ve drawn on the wall to ensure that your backsplash is staying level and straight. If you encounter any obstacles such as outlets or switches, use a utility knife to carefully cut the materials to fit around them, taking care to make precise cuts for a clean and professional-looking finish. Once you’ve installed all of your materials, allow the adhesive to cure according to the manufacturer’s instructions before grouting or sealing the backsplash, if necessary.


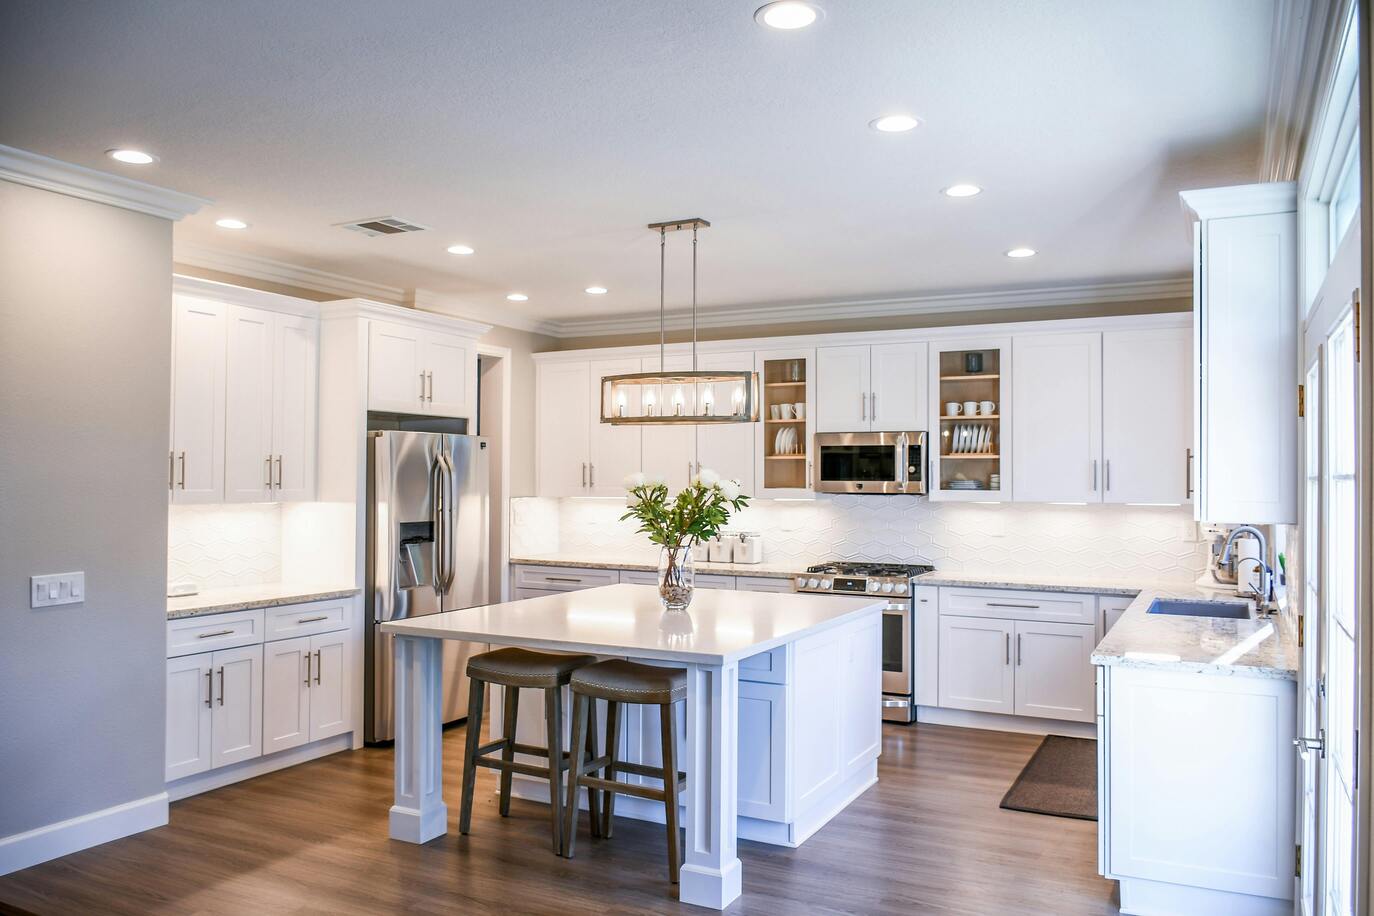
With your DIY backsplash installation complete, step back and admire the transformation you’ve achieved in your kitchen. In just a weekend and with a minimal investment of time and money, you’ve updated your space and given it a fresh new look that reflects your personal style and creativity. Whether you’ve chosen bold colors and patterns or subtle textures and finishes, your new backsplash is sure to be a focal point in your kitchen for years to come.