Adding Character to Your Walls: DIY Wainscoting Installation
Walls are more than just structural elements of a home; they are canvases waiting to be adorned with personality and style. If you’re looking to add charm and elegance to your interior spaces, wainscoting is a timeless and versatile option that can instantly elevate the look of any room. Whether you’re aiming for a classic, traditional feel or a more modern, contemporary aesthetic, DIY wainscoting installation is a rewarding project that can transform the entire ambiance of your home. In this comprehensive guide, we’ll take you through the steps of choosing the right wainscoting style, measuring and cutting materials, installation techniques, and finishing touches for polished results that will impress family and friends alike.
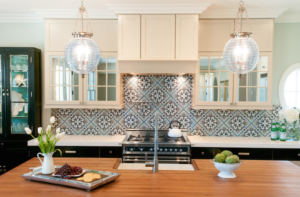
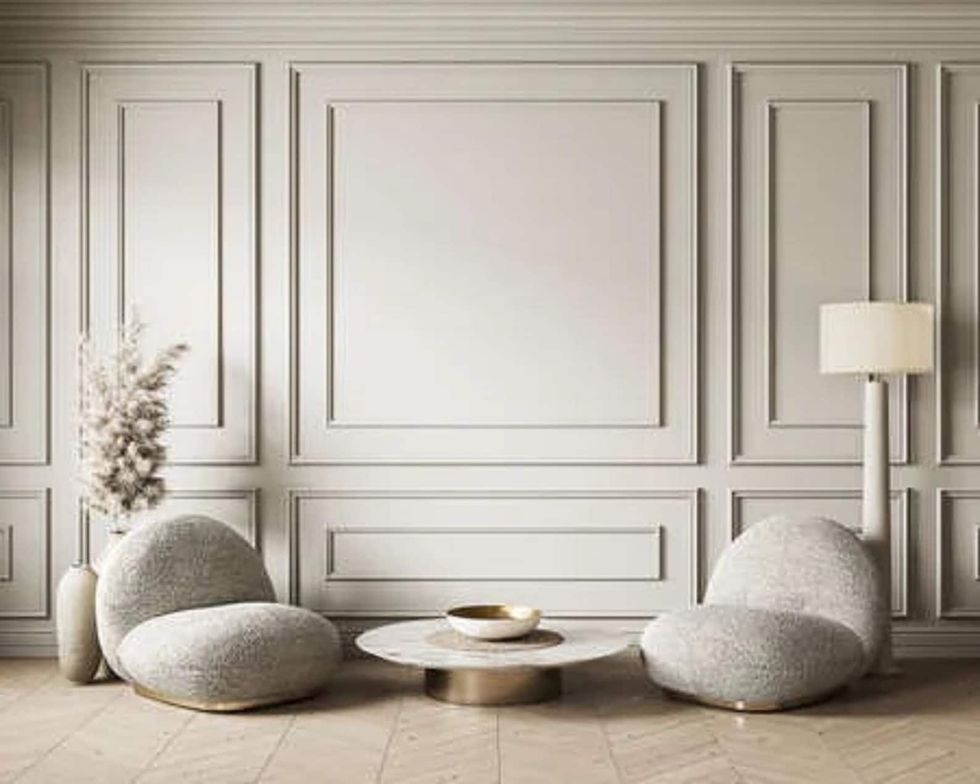
The first step in any wainscoting installation project is choosing the right style for your space. Wainscoting comes in a variety of styles, from classic raised panel designs to more modern shaker or beadboard options, so take the time to consider the overall aesthetic of your home and choose a style that complements your existing decor. If you’re unsure where to start, browse design magazines or websites for inspiration, and don’t be afraid to experiment with different styles and finishes until you find one that speaks to you.
Once you’ve settled on a style, the next step is to measure and cut your materials to fit your walls. Start by measuring the height and width of your walls, and then use those measurements to determine the size and quantity of wainscoting panels you’ll need. If you’re installing raised panel wainscoting, you’ll also need to measure and cut trim pieces to frame the panels and create a polished finish. Take your time with this step and double-check your measurements to ensure accuracy, as precise cuts are essential for achieving a professional-looking result.
With your materials cut to size, it’s time to start the installation process. Begin by marking the desired height of the wainscoting on the walls using a level and pencil, and then use a stud finder to locate and mark the position of the wall studs. This will serve as a guide for attaching the wainscoting panels to the wall securely. Once you’ve marked the stud locations, apply construction adhesive to the back of each panel and press them firmly into place on the wall, making sure to align the edges and corners evenly.
If you’re installing raised panel wainscoting, you’ll also need to attach trim pieces around the perimeter of each panel to create a finished look. Use a combination of construction adhesive and finishing nails to secure the trim pieces to the wall, taking care to space them evenly and miter the corners for a seamless finish. Once all of the panels and trim pieces are in place, fill any nail holes or gaps with wood filler and sand the surface smooth to create a uniform finish.

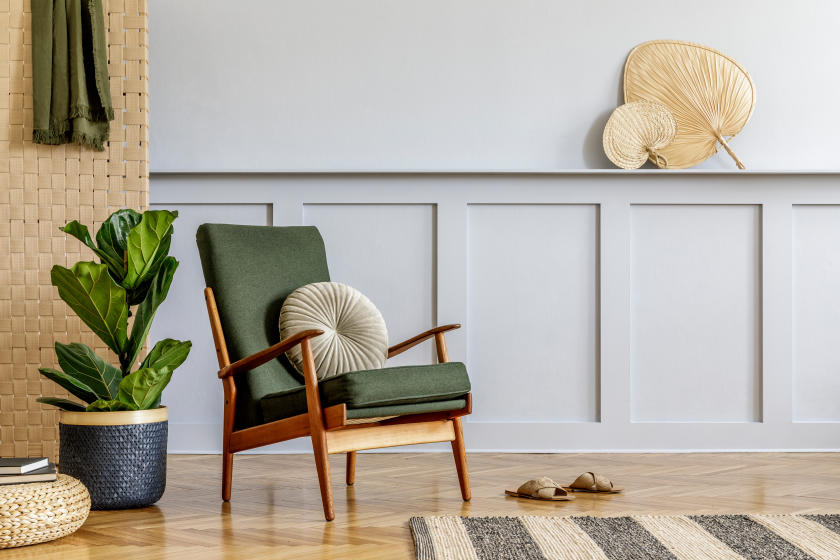
With the wainscoting installed, the final step is to add the finishing touches to your walls. Depending on the style and finish of your wainscoting, you may choose to paint or stain the panels to match the existing decor in your home, or leave them unpainted for a more rustic or natural look. Consider adding chair rail molding or picture rail molding to further enhance the visual appeal of your wainscoting, and don’t forget to add decorative accents such as artwork, mirrors, or sconces to complete the look.
In conclusion, DIY wainscoting installation is a simple yet effective way to add character and elegance to your walls and transform the entire ambiance of your home. By choosing the right style, measuring and cutting materials with care, and following proper installation techniques, you can achieve polished results that will impress family and friends alike. Whether you’re aiming for a classic, traditional feel or a more modern, contemporary aesthetic, wainscoting is a versatile option that can enhance the beauty and charm of any interior space.